

Google Antigravity provides an agentic pair-programming development environment. However, the standalone daemon binds strictly to localhost loopback interfaces and expects a local desktop session, lacking remote access capabilities out of the box.
This guide details how to configure a secure, persistent remote control setup for Google Antigravity on Linux using Caddy and Tailscale. By following these steps, you can access your Antigravity instance remotely over your private Tailnet from any desktop web browser or mobile phone.
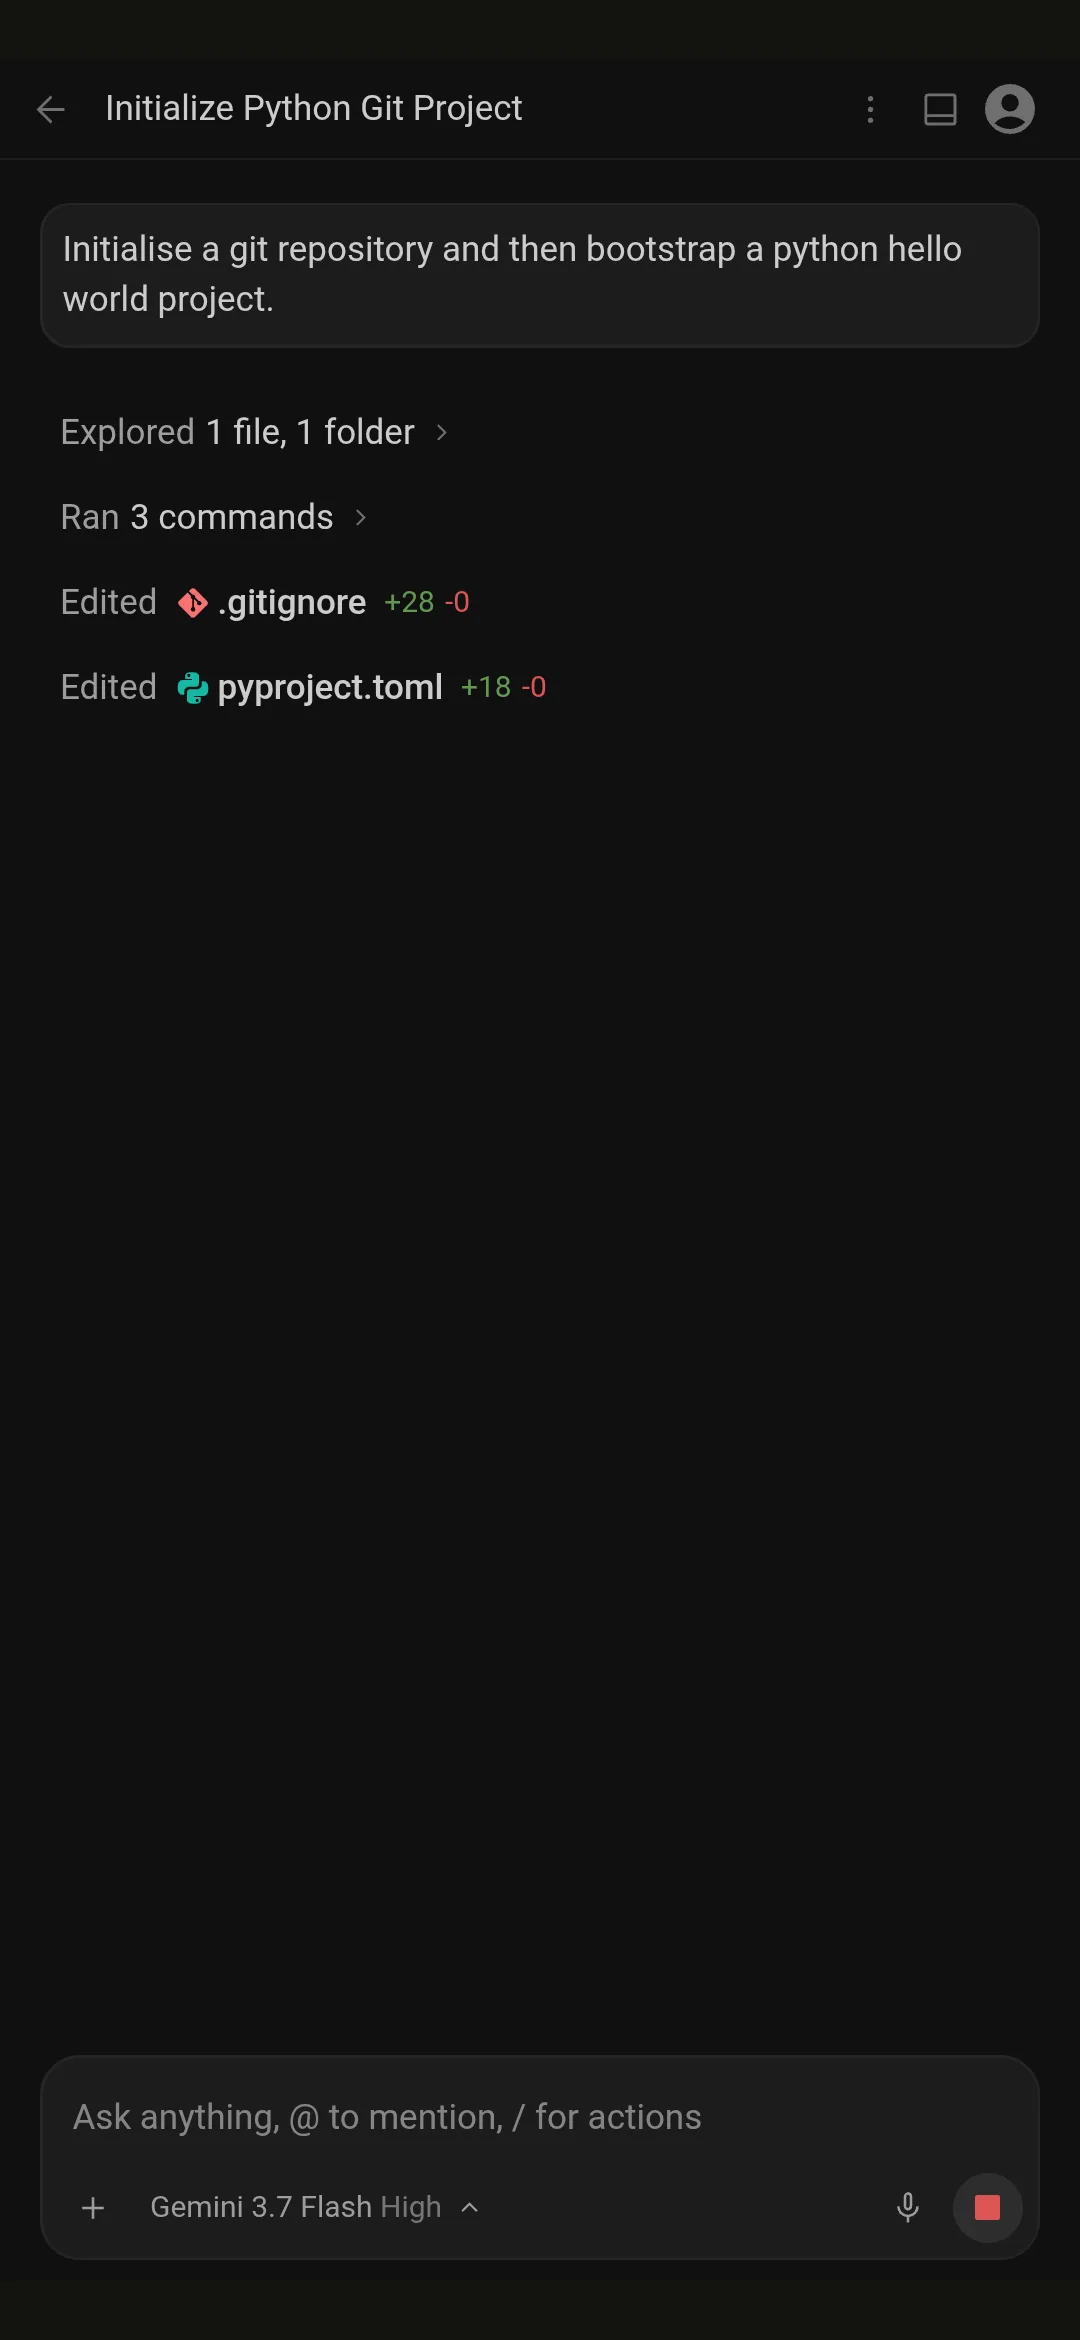
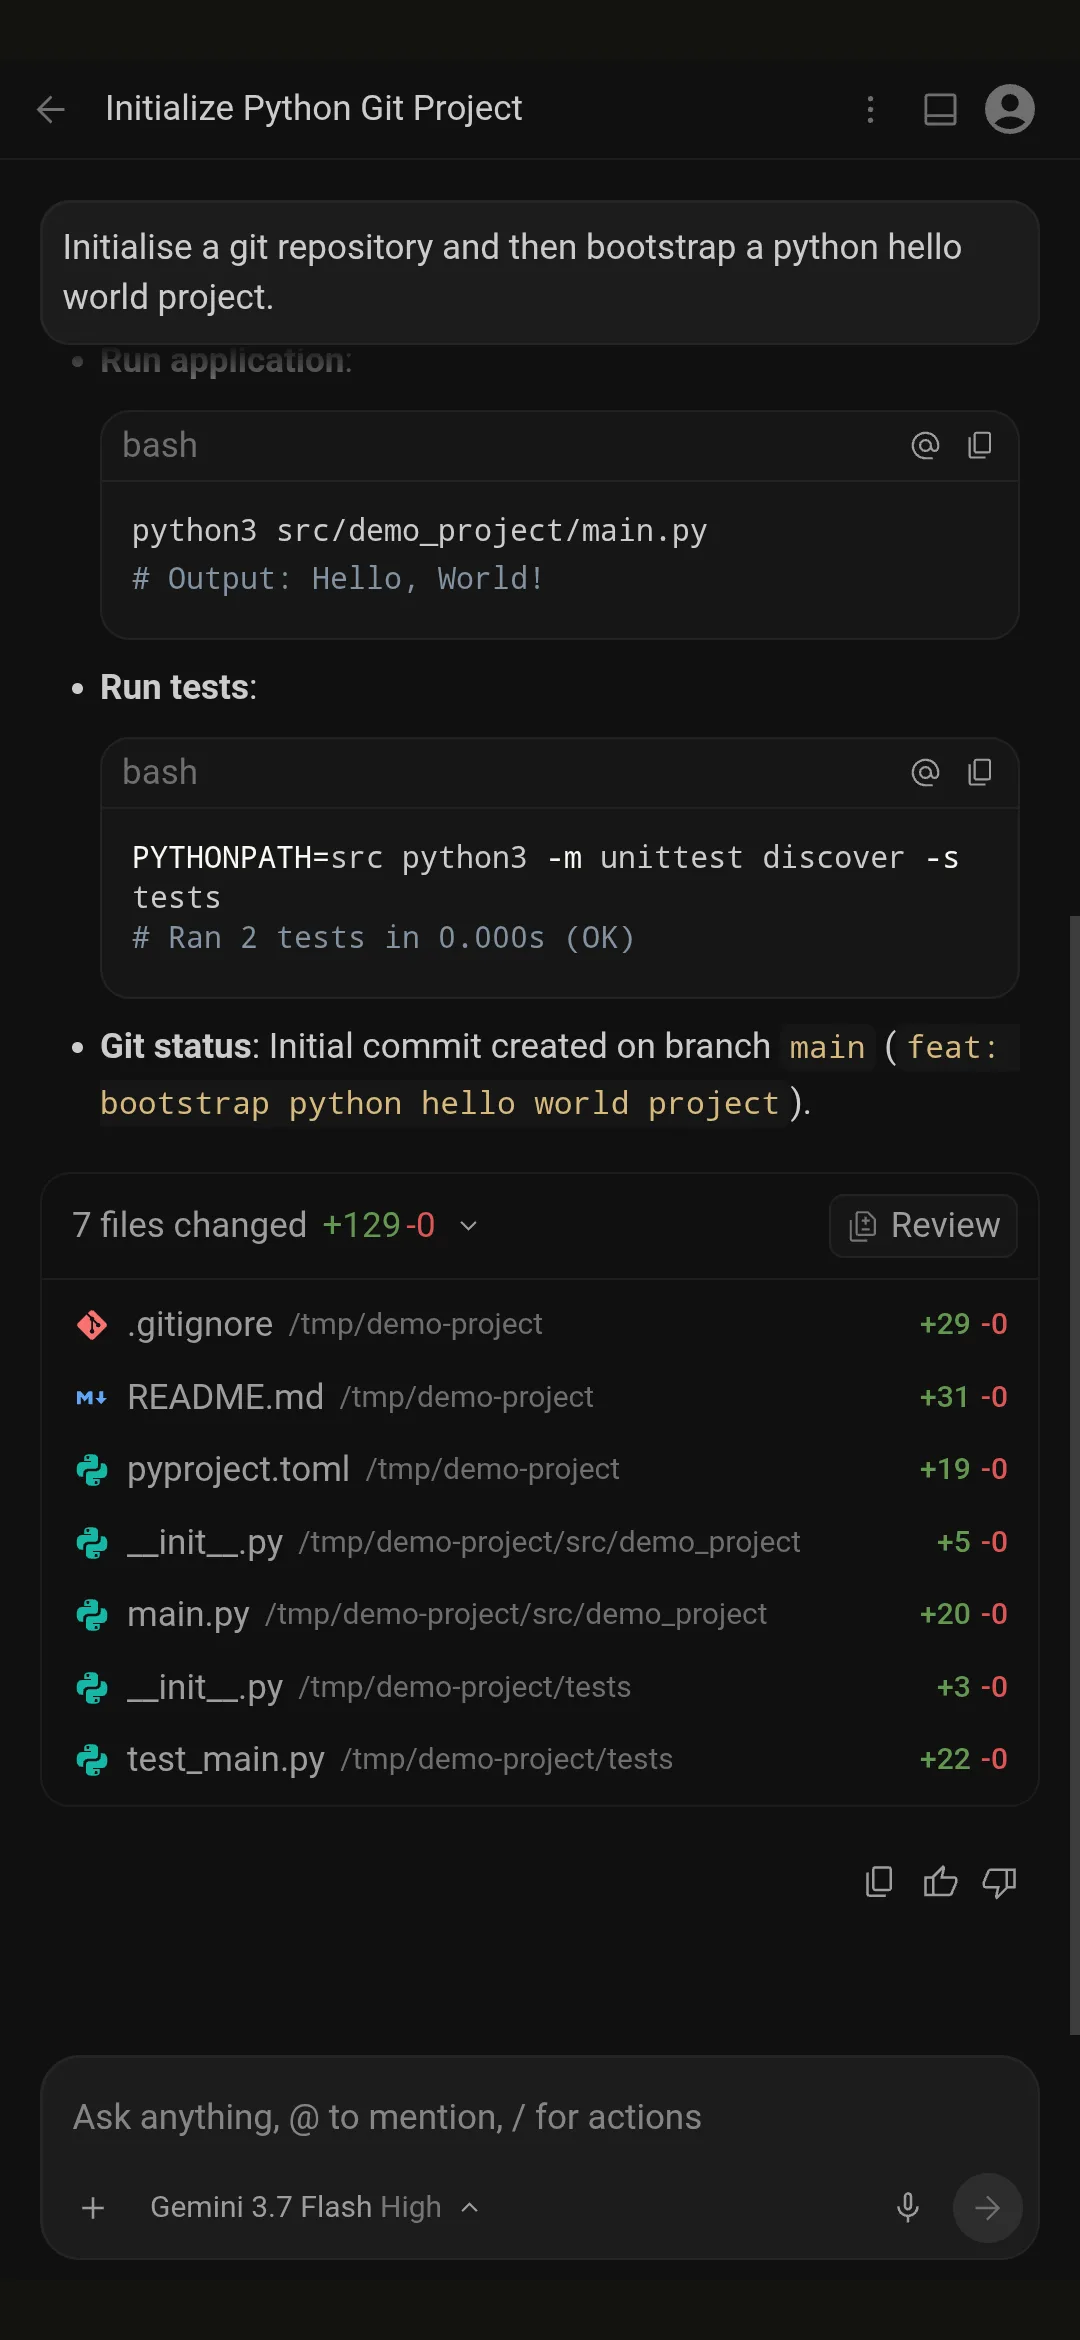
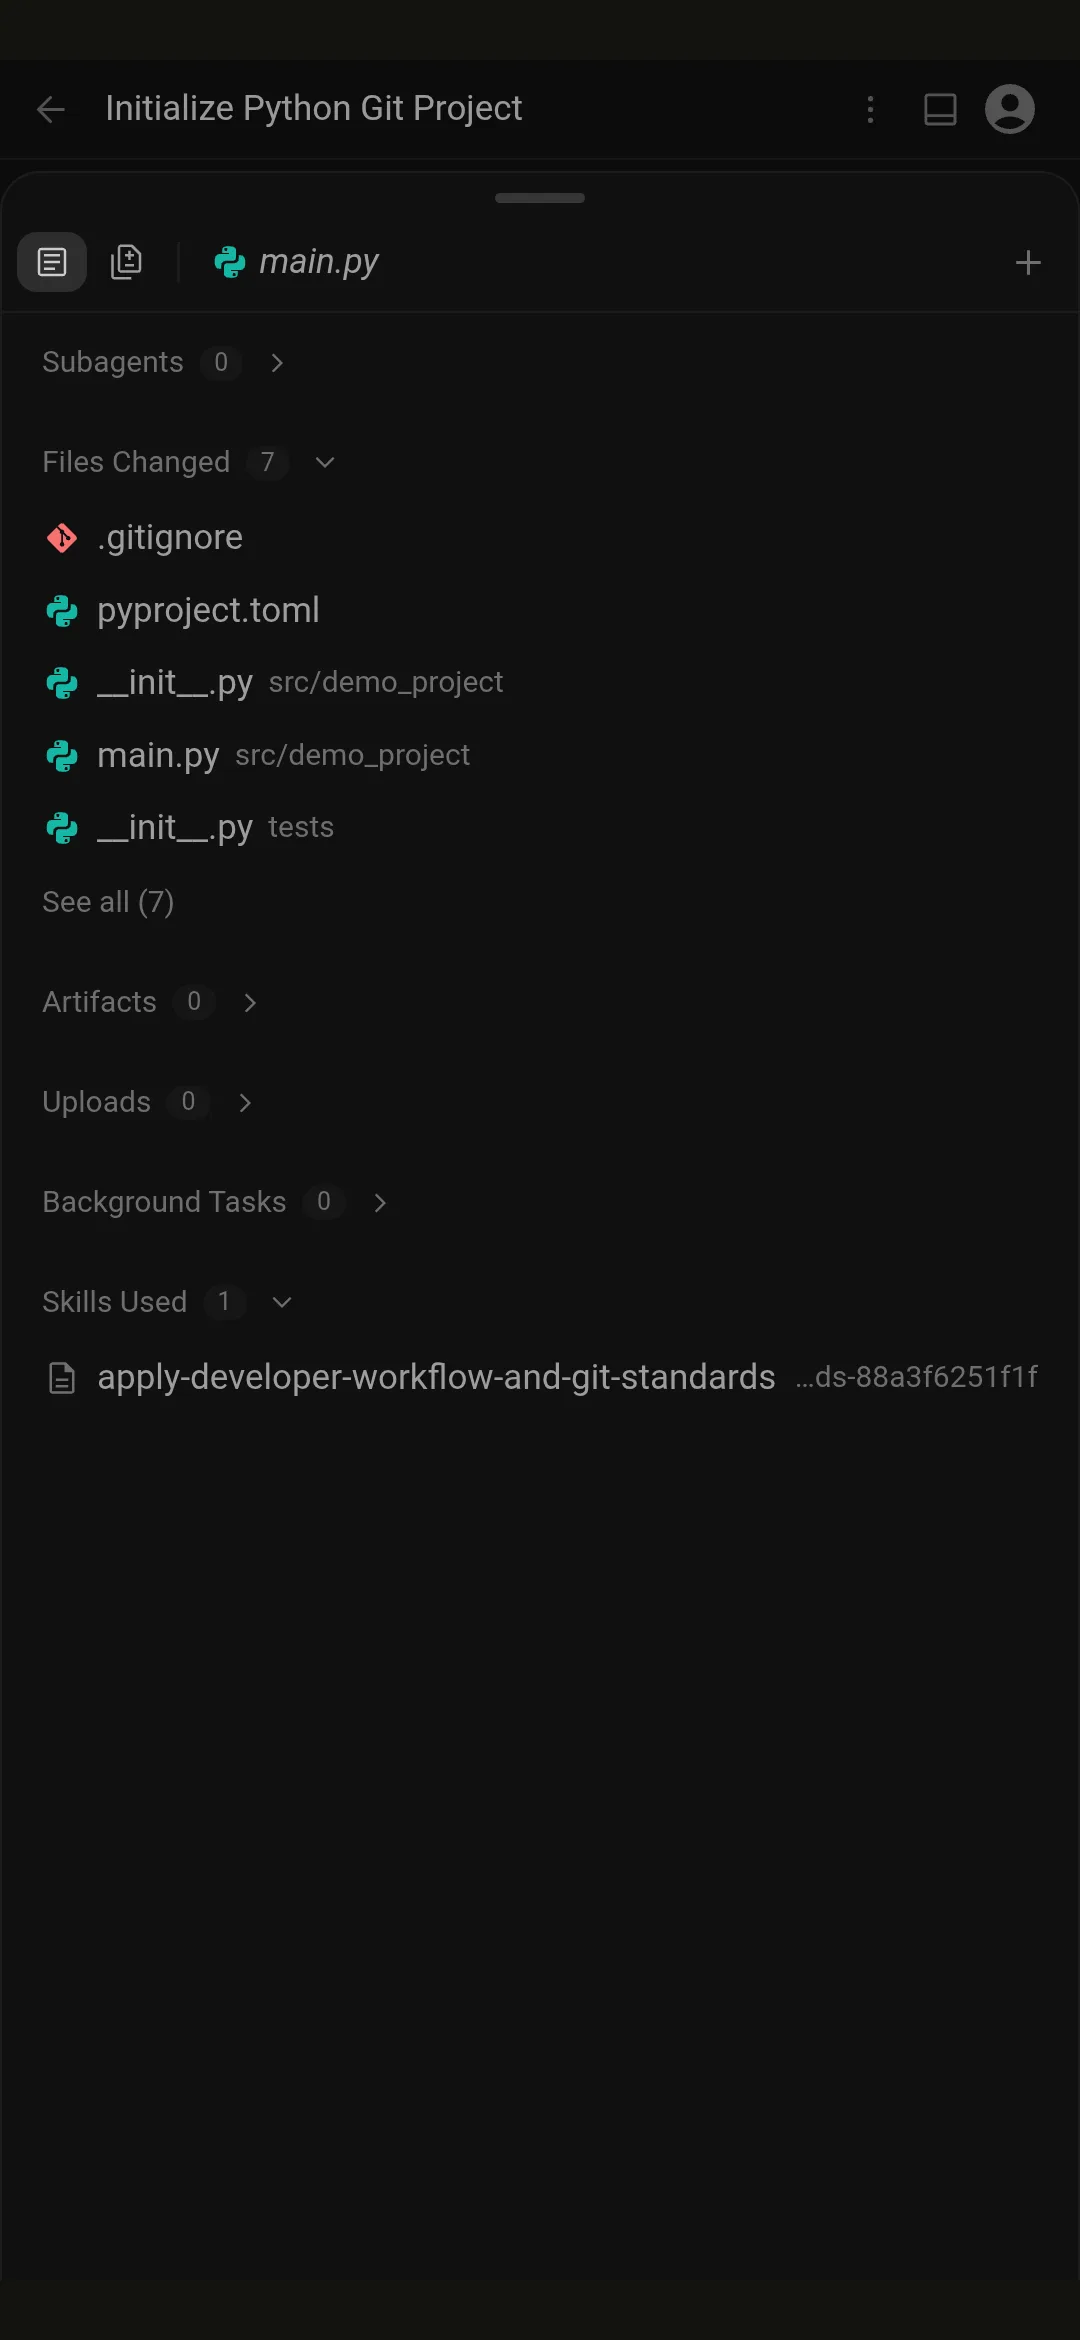
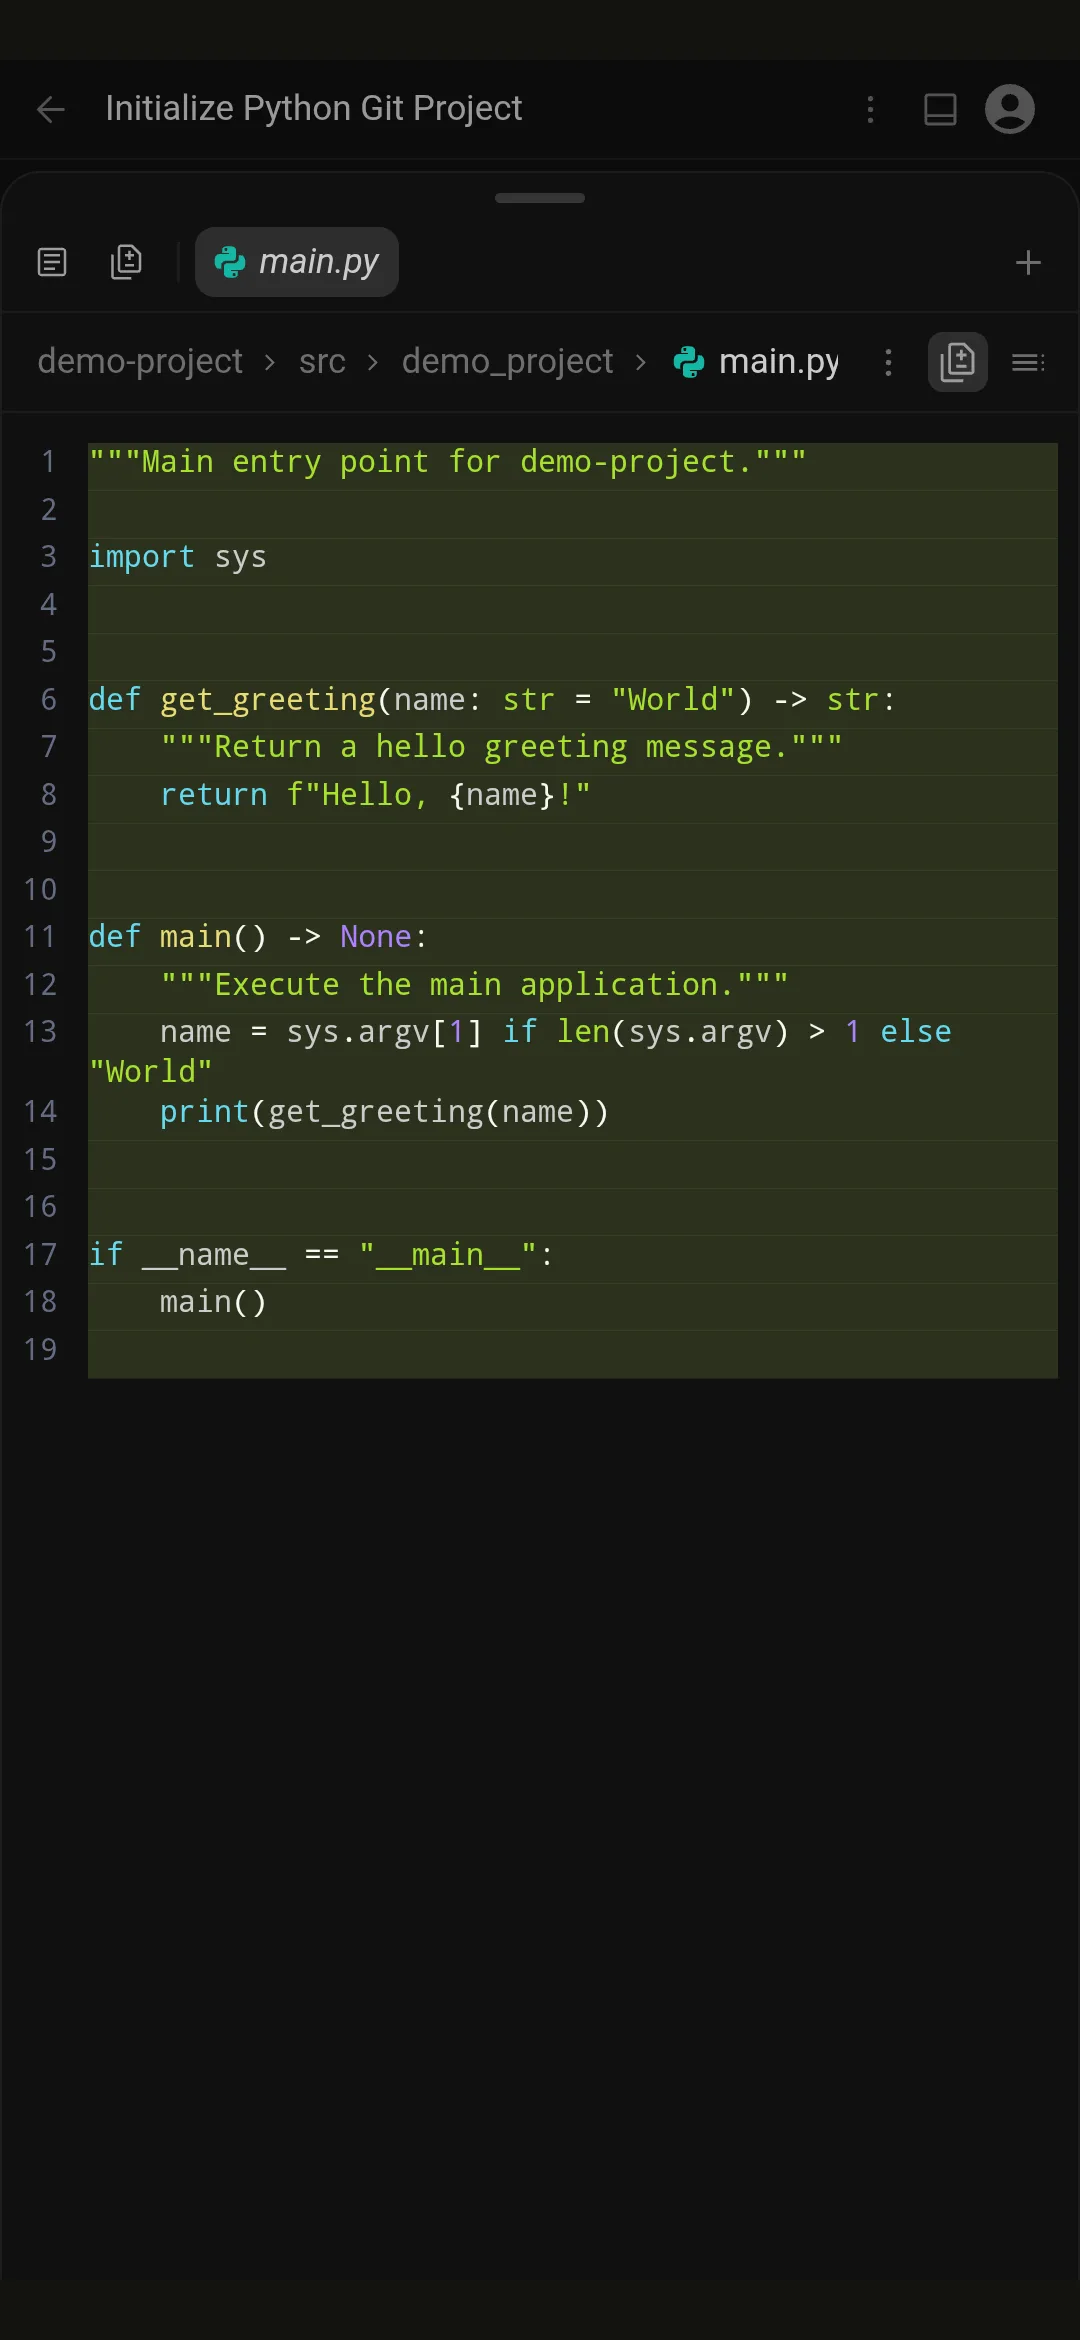
While this post focuses on a Fedora environment, these instructions can just as easily be adopted into a standalone compose file or your environment.
The Network & Security Challenge
Exposing Antigravity's daemon remotely requires addressing three specific security and routing constraints:
- Host Header Validation & Passthrough Failure: Antigravity's backend daemon (
language_server) enforces strict loopback origin checks (Host: 127.0.0.1:13306).tailscale serveproxies incoming traffic while preserving the original incomingHostheader (node.tailnet.ts.net:39975). Because Tailscale Serve does not rewrite theHostheader, direct requests fail with anUnauthorized Host (Localhost only)error. A reverse proxy capable of rewriting request headers (header_up Host ...) is required. - Subpath Asset Mismatch: The embedded Web UI inside
language_serverrequests static JavaScript and CSS assets using absolute root-relative paths (<script src="/main.js">,<link href="/compiled_tailwind.css">). Hosting Antigravity under a subpath likehttps://node.tailnet.ts.net/antigravitycauses browsers to block assets due to Strict MIME Type Checking (X-Content-Type-Options: nosniff). - Session Persistence: User systemd daemons automatically terminate upon SSH logout unless explicit session lingering is enabled.
To avoid hijacking standard HTTP/HTTPS port 443 on the host, we map Antigravity to a dedicated custom HTTPS port (39975) using Tailscale Serve. If custom ports are undesirable, an alternative clean approach is registering a dedicated Tailscale Service (svc:antigravity), which grants the service its own MagicDNS hostname (https://antigravity.tailnet.ts.net/).
System Architecture
The following sequence diagram illustrates how incoming HTTPS traffic flows from a remote client through Tailscale and Caddy to the local Antigravity daemon:
Step 1: Install Antigravity with Versioning
The following shell script fetches the latest Antigravity Linux release, extracts it cleanly into a versioned opt directory, establishes executable symlinks, and performs a runtime $PATH check.
#!/usr/bin/env bash
set -euo pipefail

# Configuration
OPT_DIR="${HOME}/.local/opt/antigravity"
BIN_DIR="${HOME}/.local/bin"
API_URL="https://antigravity-hub-auto-updater-974169037036.us-central1.run.app"

mkdir -p "${OPT_DIR}" "${BIN_DIR}"

# Fetch active release metadata
RELEASE_JSON=$(curl -sSLf "${API_URL}/api/v1/releases/latest?platform=linux&arch=x64")

if command -v jq >/dev/null 2>&1; then
  VERSION=$(echo "${RELEASE_JSON}" | jq -r '.version')
  DOWNLOAD_URL=$(echo "${RELEASE_JSON}" | jq -r '.url')
else
  VERSION=$(echo "${RELEASE_JSON}" | grep -oP '"version"\s*:\s*"\K[^"]+')
  DOWNLOAD_URL=$(echo "${RELEASE_JSON}" | grep -oP '"url"\s*:\s*"\K[^"]+')
fi

TARGET_DIR="${OPT_DIR}/${VERSION}"

if [ ! -d "${TARGET_DIR}" ]; then
  echo "Installing Antigravity v${VERSION}..."
  mkdir -p "${TARGET_DIR}"
  curl -sSLf "${DOWNLOAD_URL}" | tar -xz -C "${TARGET_DIR}" --strip-components=1
fi

# Update version symlinks
ln -sfn "${TARGET_DIR}" "${OPT_DIR}/current"
ln -sfn "${OPT_DIR}/current/resources/bin/language_server" "${BIN_DIR}/antigravity"

echo "Antigravity v${VERSION} installed successfully at ${OPT_DIR}/current."

# Verify executable PATH accessibility
if [[ ":${PATH}:" != *":${BIN_DIR}:"* ]]; then
  echo "Warning: ${BIN_DIR} is not in your current PATH."
  echo "Add 'export PATH=\"${BIN_DIR}:\${PATH}\"' to your ~/.bashrc or ~/.zshrc."
fiIf ${HOME}/.local/bin was just created during execution, make sure to reload your shell environment (source ~/.bashrc) so the antigravity command is immediately accessible in your terminal.
Step 2: Configure Persistent Systemd Service & Lingering
To ensure Antigravity runs continuously without requiring an active desktop session, configure a user systemd service with environment substitution and enable session lingering.
By default, systemd terminates user daemons upon SSH logout. Executing loginctl enable-linger $USER instructs systemd to boot user services automatically at startup and keep them running continuously.
Create ~/.config/systemd/user/antigravity-server.service using an environment variable placeholder:
[Unit]
Description=Antigravity Daemon
After=network.target

[Service]
Type=simple
ExecStart=%h/.local/opt/antigravity/current/resources/bin/language_server \
  -standalone \
  -disable_telemetry=true \
  -https_server_port 39974 \
  -csrf_token ${ANTIGRAVITY_CSRF_TOKEN} \
  -app_data_dir %h/.config/antigravity \
  -api_server_url https://generativelanguage.googleapis.com \
  -cloud_code_endpoint https://cloudcode-pa.googleapis.com \
  -override_ide_name antigravity \
  -subclient_type hub \
  -override_ide_version ${ANTIGRAVITY_VERSION:-2.8.1} \
  -override_user_agent_name antigravity \
  -enable_sidecars
Restart=always
RestartSec=3s

[Install]
WantedBy=default.target
Generate a 32-byte hex secret and configure it into drop in file:
CSRF_TOKEN=$(openssl rand -hex 32)
sed -i "s/CHANGE_ME_CSRF_TOKEN/${CSRF_TOKEN}/g" ~/.config/systemd/user/antigravity-server.service
echo "Generated and injected CSRF Token: ${CSRF_TOKEN}"cat <<EOF > ~/.config/systemd/user/antigravity-server.service.d/10-env.conf
[Service]
Environment="ANTIGRAVITY_CSRF_TOKEN=$(openssl rand -hex 32)"
EOF
# Secure permissions on the drop-in file
chmod 600 ~/.config/systemd/user/antigravity-server.service.d/10-env.confEnable and start the service along with user lingering:
loginctl enable-linger "${USER}"
systemctl --user daemon-reload
systemctl --user enable --now antigravity-server.service
Step 3: Configure Caddy Reverse Proxy
Caddy handles HTTPS termination, loopback TLS handshakes, and header overrides.
Ensure Caddy is installed, then create /etc/caddy/Caddyfile:
:39975 {
    bind 127.0.0.1
    reverse_proxy https://127.0.0.1:39974 {
        transport http {
            tls_insecure_skip_verify
        }
        header_up Host 127.0.0.1:39974
        flush_interval -1
    }
}The flush_interval -1 directive disables response buffering in Caddy. This ensures WebSockets and Server-Sent Events (SSE) streaming tokens generated during agent completion calls reach the browser in real time without latency.
Restart Caddy:
sudo systemctl restart caddyStep 4: Expose Port over Tailscale
Use Tailscale Serve to route traffic securely from your Tailnet to Caddy's loopback port:
tailscale serve --bg --https=39975 http://127.0.0.1:39975Verify that Tailscale Serve is active:
tailscale serve statusExpected output:
https://node.tailnet.ts.net:39975 (tailnet only)
|-- / proxy http://127.0.0.1:39975
Step 5: Mobile PWA Installation & Notifications
Once configured, access https://node.tailnet.ts.net:39975/ in your browser from any device connected to your Tailnet.
To convert the web interface into a standalone Progressive Web App (PWA):
-
Android (Google Chrome):
- Open
https://node.tailnet.ts.net:39975/in Chrome. - Tap the menu icon (three dots) and select "Add to Home screen" or "Install app".
- Launch the app icon from your home screen and grant notification permissions when prompted.
- Open
-
iOS (Apple Safari):
- Open
https://node.tailnet.ts.net:39975/in Safari. - Tap the Share button at the bottom of the screen.
- Scroll down and select "Add to Home Screen".
- Launch the application from your iOS home screen to run in standalone mode.
- Open
Technical Appendix: Why Subpath Proxying Fails
Attempting to serve Antigravity under a subpath (such as https://node.tailnet.ts.net/antigravity/) causes static asset loading to fail. The compiled frontend contains absolute references (/main.js, /compiled_tailwind.css). When a browser fetches /main.js from the domain root, Tailscale Serve returns an HTML fallback or 404 response. The browser detects that a script tag received non-JavaScript content and blocks execution due to Strict MIME Type Checking (X-Content-Type-Options: nosniff).
Using a dedicated HTTPS port (39975) or registering a dedicated Tailscale Service (svc:antigravity) preserves root path routing (/) for the web application while maintaining full isolation from host web servers running on port 443.